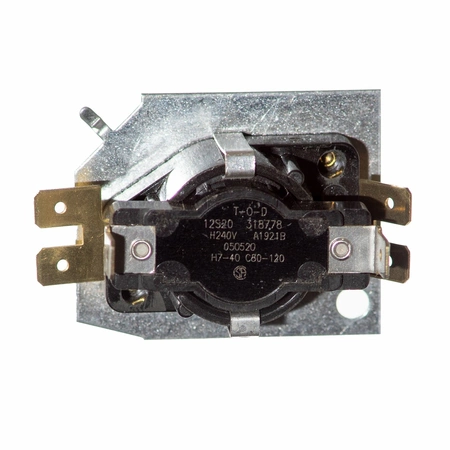
050520 Cadet Manufacturing Fan Delay Relay
Part #: CMC 050520
050520 Cadet Fan Delay Relay
050520 Cadet Fan Delay Relay
Please Verify Your Purchase to Submit a Review
DIY: How to Replace a 505202 230V 1/6HP 12' Cord Pump
Are you looking to replace the cord pump on your 505202 230V 1/6HP 12' pump? Look no further! Replacing a cord pump is a relatively straightforward job with these easy-to-follow DIY instructions. So, if you’ve got some basic tools and a bit of patience, you can have your old pump replaced and ready to use again in no time. Here’s how to do it:
1. Gather your tools. To successfully replace an old cord pump, you’ll need the following items: a flathead screwdriver, a Phillips head screwdriver, pliers, a pair of gloves, and a new 505202 230V 1/6HP 12' Cord Pump.
2. Turn off the power. Before you begin your pump replacement project, make sure to turn off the power from the pump’s electrical box. This will ensure that you don’t accidentally shock yourself during the process.
3. Remove the cover. Using the flathead screwdriver, loosen the screws that hold the cover onto the pump and carefully remove the cover. This will allow you to access the inner workings of the pump.
4. Disconnect the wiring. Carefully disconnect the wiring from the old pump and set it aside. Unscrew the mounting plate and lift the old pump out of its housing. Set it aside.
5. Install the new cord pump. Carefully place the new cord pump into its housing, making sure to secure it with the mounting plate. Reconnect the wiring and fasten the cover back onto the pump.
6. Test the pump. Turn the power back on at the electrical box and test the new cord pump to make sure it’s working properly. If everything checks out, you’ve successfully replaced the old cord pump!
With these simple steps, you can easily replace a 505202 230V 1/6HP 12' cord pump. Now, you’re all set to start using your newly installed pump. Good luck and happy DIYing!
Please keep in mind, these instructions are for general guidance and should always be used in conjunction with the manufacturer's manual, if available.
No more associated models for this part.


Login and Registration Form