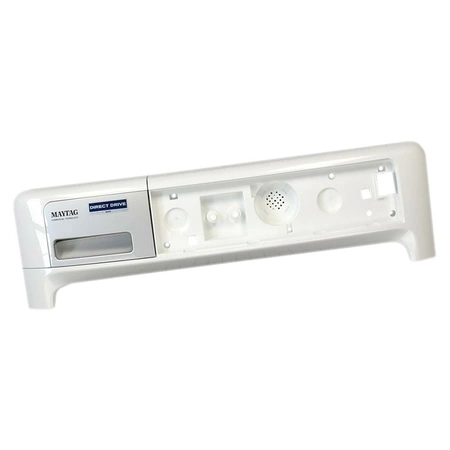
W11218376 Whirlpool Control Panel

Whirlpool W11218376 CONSOLE, We're your #1 source for genuine OEM appliance parts. Contact us for further questions as well as any other appliance parts needs!
Weight : 13.965400 lbs
Dimension : 31.500000 x 8.500000 x 7.250000
Product Details
Reviews
Replaces Parts
Installation Instructions
Compatible Models
Compatible Brands
Whirlpool W11218376 CONSOLE, We're your #1 source for genuine OEM appliance parts. Contact us for further questions as well as any other appliance parts needs!
Weight : 13.965400 lbs
Dimension : 31.500000 x 8.500000 x 7.250000
Write Your Own Review
The following parts are replaced by this product
- W10784655
- W11197087
Replacing the Whirlpool W11218376 CONSOLE
1. Unplug your appliance from the electrical outlet and shut off the water supply to the appliance.
2. Remove any objects or debris from the top of the unit.
3. Use a putty knife to remove any remaining adhesive and screws securing the control panel to the console.
4. Carefully remove and set aside the control panel.
5. Using a flathead screwdriver, remove the four screws that secure the console to the washer.
6. Gently pull the old console away from the washer body.
7. Take the new console and lift it into place.
8. Secure the console with the four screws previously removed.
9. Reattach the control panel and secure it with adhesive and screws.
10. Reconnect all wiring according to any diagrams included with the replacement console.
11. Plug in the appliance and turn on the water supply.
12. Test the new console for proper operation.
Please keep in mind, these instructions are for general guidance and should always be used in conjunction with the manufacturer's manual, if available.
No more associated models for this part.


