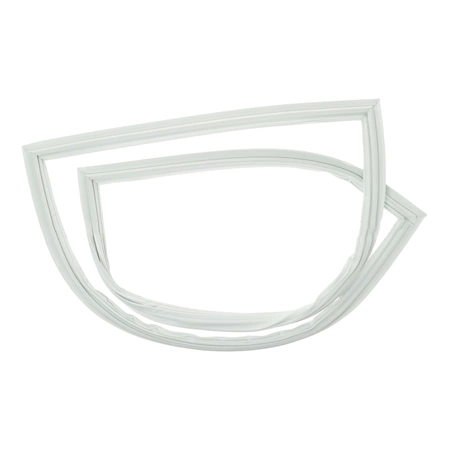
WR14X29374 GE Refrigerator Door Gasket White

Maintain your refrigerator with this high-quality door gasket designed specifically for select GE models, including Hotpoint, Haier, Monogram, and Café appliances. This essential part ensures a tight seal, keeping your refrigerator at optimal temperature while enhancing energy efficiency. Made from durable materials, the gasket effectively prevents air leaks and reduces the risk of spoilage.
Installing this gasket is straightforward, allowing you to maintain your appliance with ease. With the SKU WR14X29374, you can be assured of a perfect fit and reliable performance. Whether you're repairing a worn-out seal or replacing a damaged one, this door gasket is a smart investment for any kitchen. Ensure your food stays fresh while cutting back on energy consumption with this important refrigerator part.
Weight : 7.777600 lbs
Dimension : 28.600000 x 18.900000 x 2.000000
Write Your Own Review
DIY Refrigerator Door Gasket Replacement:
1. Begin by unplugging your refrigerator from the power source and then removing any items that are stored near or on the door, such as shelves or drawers.
2. First, begin by carefully removing the old gasket from the door. Start at one corner and pull it gently away from the door, working your way around the perimeter of the refrigerator door.
3. Once the old gasket is removed, measure the perimeter of the refrigerator door opening. You will need to purchase a replacement gasket that matches the size of the refrigerator door opening for a proper fit.
4. To install the new gasket, start at one corner and press the gasket into place. Make sure you have the correct side facing out and there are no creases in the material. Work your way along the perimeter until all of the gasket is installed.
5. To finish the job, test the fit of the seal by closing the door and seeing if it pulls the seal tight against the refrigerator door opening. If the seal doesn’t fit snugly, you may need to adjust it.
6. Finally, plug your refrigerator back into the power source and ensure that the seal works properly.
Please keep in mind, these instructions are for general guidance and should always be used in conjunction with the manufacturer's manual, if available.


