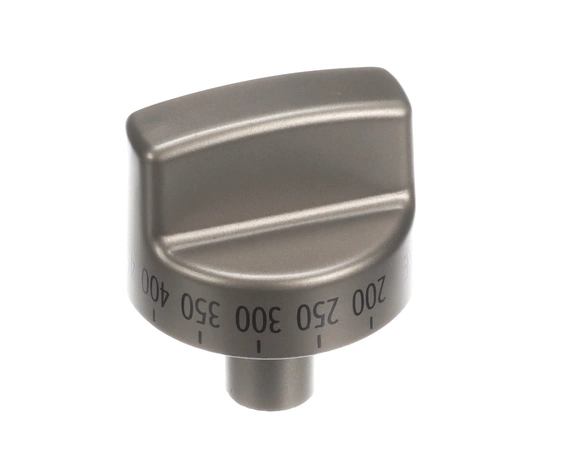
2183B3X346 Avanti Black Control Knob
Part #: AVP 2183B3X346
Oven knob works with some Avanti Products models of stoves / ovens / ranges.
Weight : 0.000000 lbs
Oven knob works with some Avanti Products models of stoves / ovens / ranges.
Weight : 0.000000 lbs
Write Your Own Review
Replacing an Avanti Products 2183B3X346 Aavanti Range Oven Knob
Tools and Materials Needed
• New replacement knob
• Phillips screwdriver
• Screwdriver bit #2
• Glue or adhesive
• Pliers
• Masking Tape
Step 1: Turn off all power to the Avanti range oven, including the circuit breaker switch.
Step 2: Use a Phillips screwdriver to unscrew the panel screws on the backside of the oven. Be sure to retain all screws in a secure and safe place so they don't get lost.
Step 3: Once the screws have been removed, use masking tape to gently pull the control panel away from the wall.
Step 4: Underneath the control panel, locate the existing oven knob.
Step 5: Using a screwdriver bit #2, carefully and slowly remove all screws that hold the oven knob in place.
Step 6: Remove the oven knob, and discard it in the trash.
Step 7: Attach the new oven knob to the oven using the screws previously removed. Make sure that they are securely tightened.
Step 8: Turn the new oven knob to make sure it functions properly.
Step 9: Re-attach the control panel to the back of the oven, and securely fasten with the screws.
Step 10: Turn the power back on to the oven to test the new oven knob.
Step 11: In the event that the new oven knob does not work properly, apply a small amount of glue or adhesive around the edges of the oven knob to ensure a secure connection.
Step 12: Wipe down the oven knob with a damp cloth to clean any remaining glue and adhesive.
Congratulations! You have successfully replaced your Avanti Products 2183B3X346 Aavanti Range Oven Knob.
Please keep in mind, these instructions are for general guidance and should always be used in conjunction with the manufacturer's manual, if available.
No more associated models for this part.


